Setting Up a Tiny Home Ceramics Studio That Works
You don’t need a dream studio to make great pottery. Here’s how you can build a tiny home pottery studio that fits your space, time, and energy.
My first “studio” was the kitchen table in my small apartment. The light was awful. I didn’t have a wheel or a kiln (yet), but I found myself a lamp and made pots anyway. They were strange little experiments that reminded me I could make something awesome out of almost nothing in a space I considered “tiny.”
Most of us begin that way, by squeezing clay time into the edges of our lives. A tiny home ceramics studio grows out of what’s available: a corner, a table, a lamp, a few spare hours, and a lot of persistence. You learn to work inside your reality instead of waiting for perfect conditions and wishing you had started sooner.
Keep reading to discover some of my most valuable lessons from setting up small home pottery studios over the years. I hope they inspire you to just start.
Start With What You Have, Not What You Wish For
Before you spend time pricing kilns, observe your space. Notice where the light falls in the afternoon, where cords can stretch safely, where you’ll stash the buckets that multiply overnight. Those details shape your setup more than any pottery wish list ever could.
I’ve built pots on wobbly desks, glazed on cutting boards, and stored reclaim under the bed (just once, I promise).
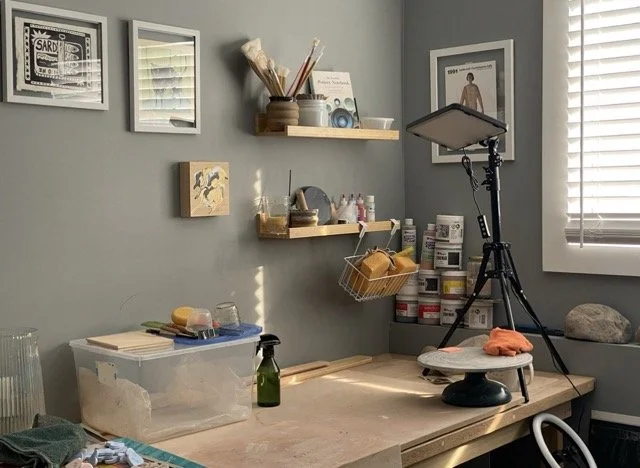
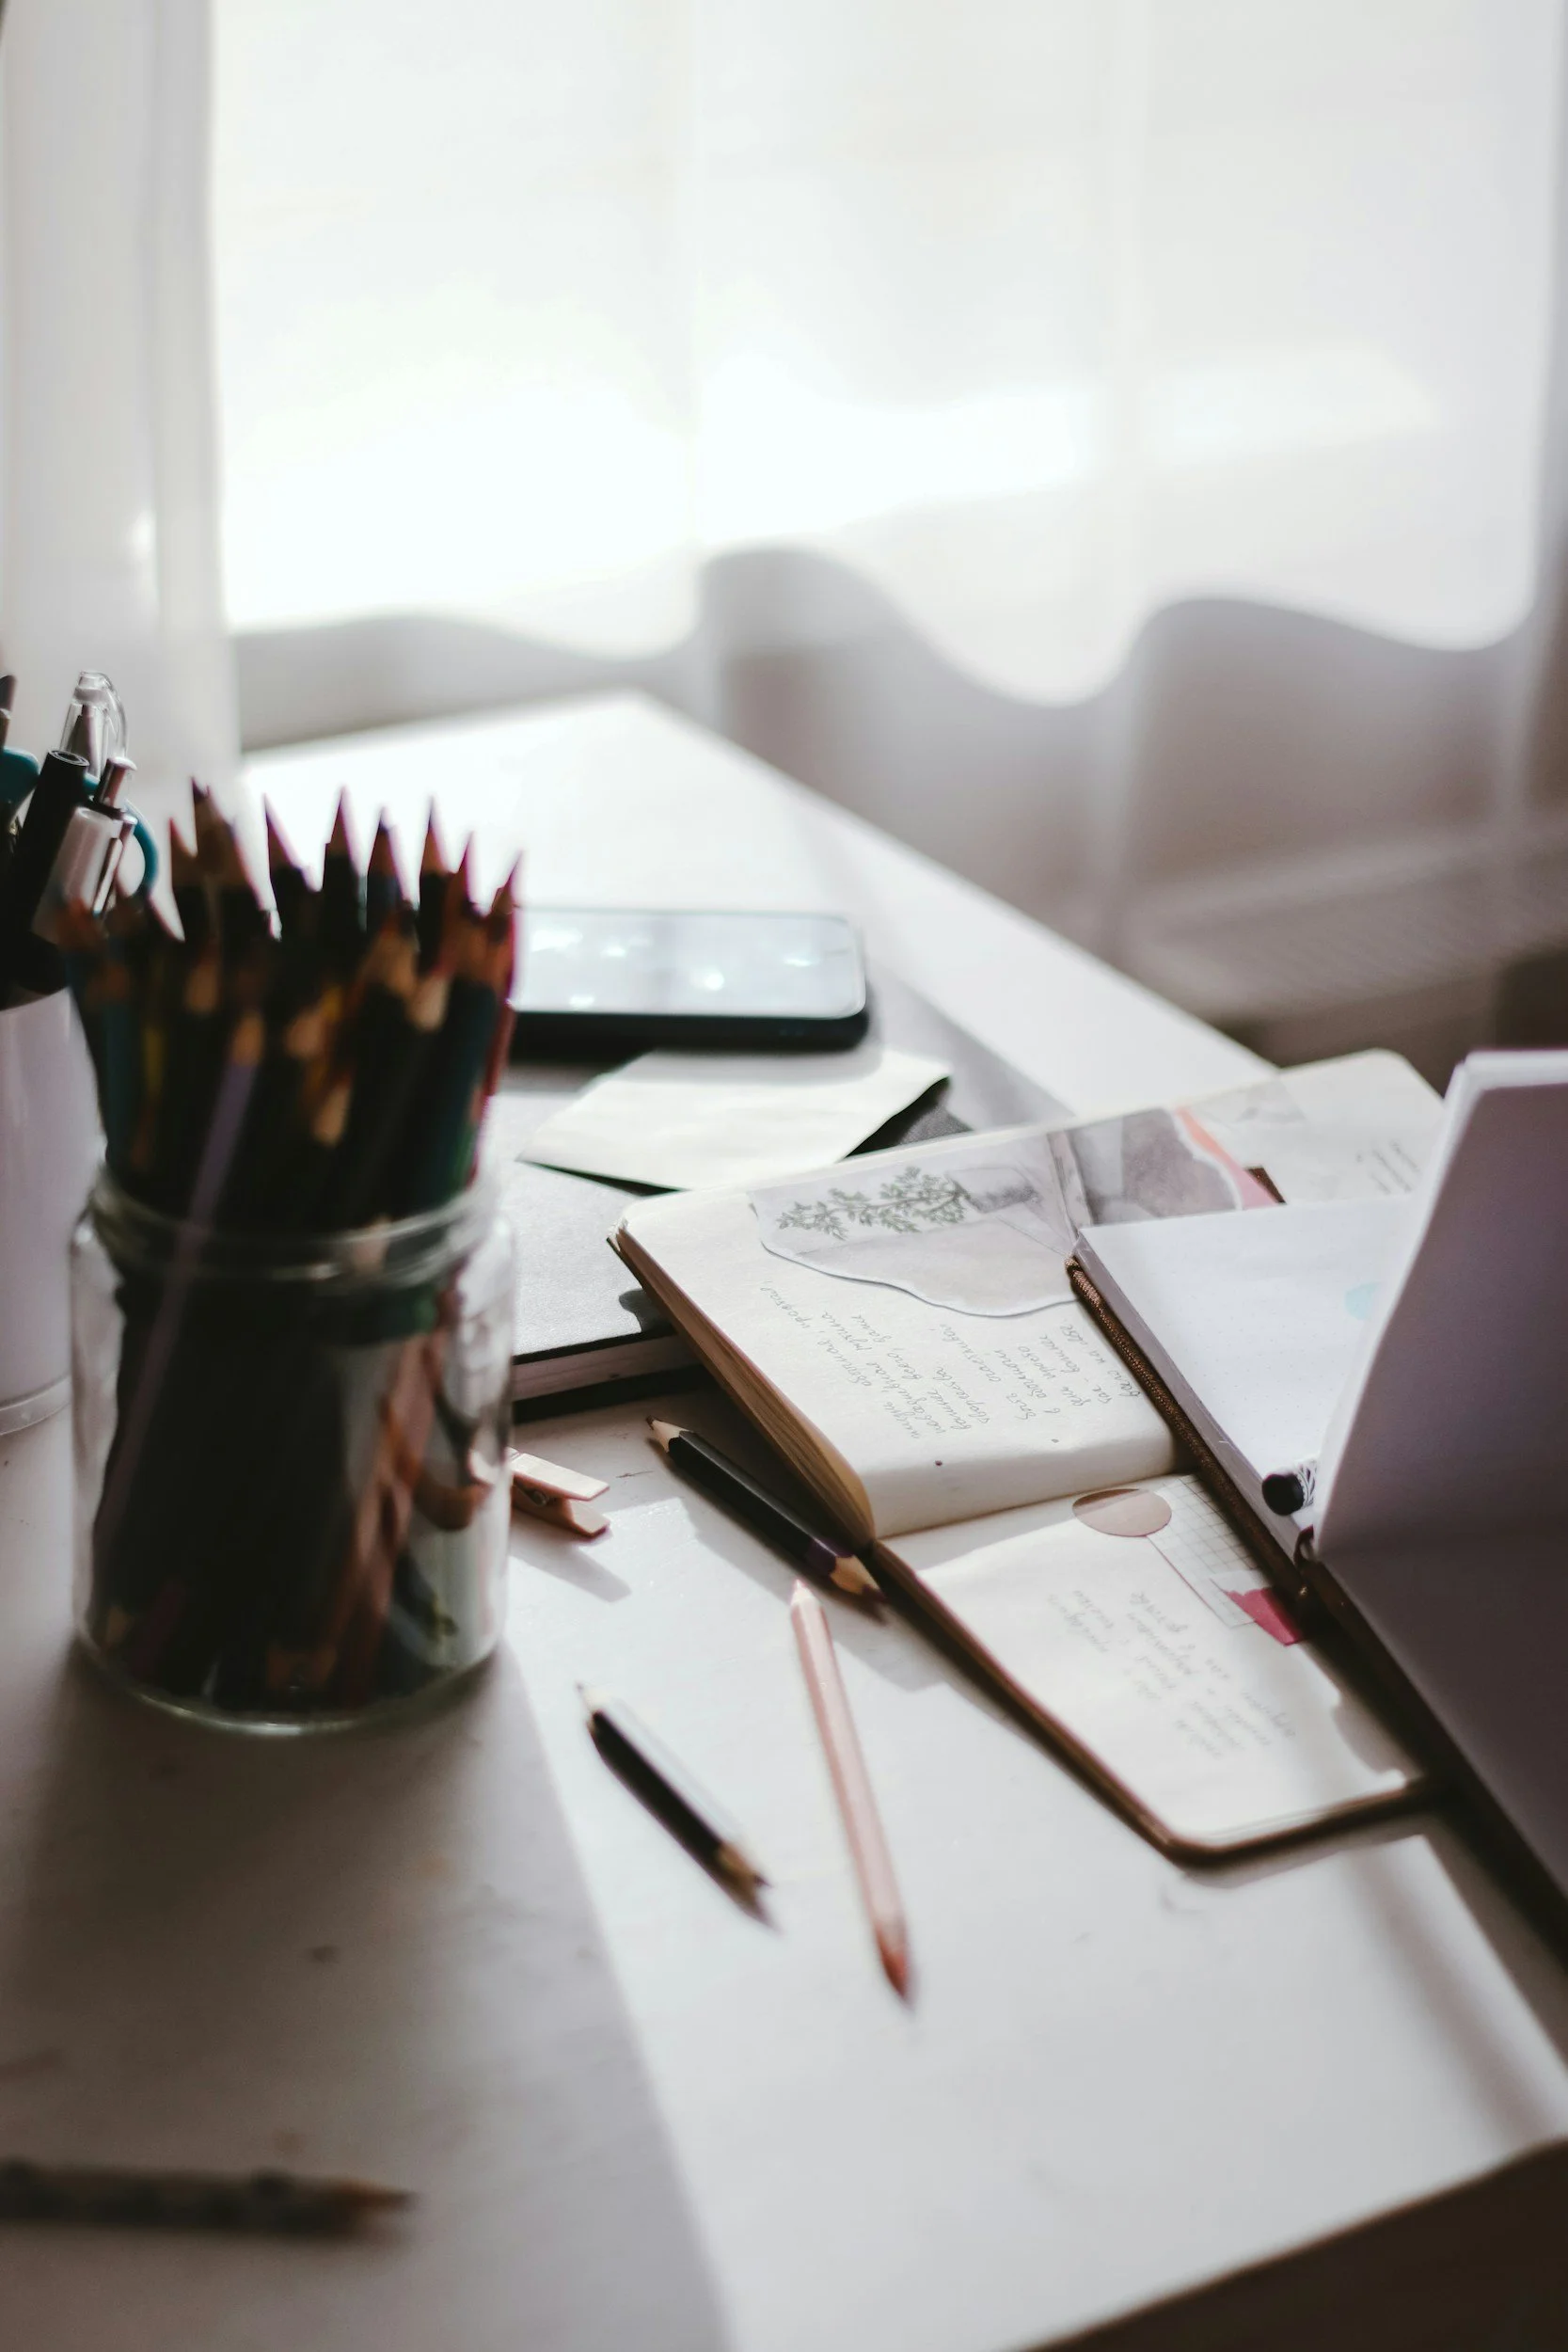
A corner of my tiny home studio.
Every setup became a teacher: how much space I actually need, what lighting keeps me focused (pro tip, get a lamp), which surfaces make cleanup easy. Clay dust is not a potter’s friend, but more on that later.
That’s your foundation, and it will be true in your first space and every space after.
Quick setup checklist:
Choose a sturdy, waist-height surface covered with canvas or an old sheet.
Keep your basic tools in a bin or mug you can move easily.
Find a safe spot for water and reclaim buckets.
Check that outlets and cords stay clear of moisture.
Avoid dumping clay water down the sink unless you have a clay trap.
Clarity about your current setup helps you spend money where it really counts and get your hands in clay sooner.
Clay, Tools, Fire: The Core Pottery Studio Setup
You need less than you think: clay, a sturdy surface, a few dependable tools, and access to glazes and heat. Everything else just refines the process.
If you’re buying clay for the first time, check the firing range.
Low-fire clays (Cone 04 to 06) or "Earthenware” are softer and mature at lower temperatures, often perfect for community kilns and small electric setups.
Mid-fire clays (Cone 5 to 6) or “Stoneware” are denser, more durable, and work beautifully for functional ware, but they need hotter firings.
If you’re not sure what temperature or “cone” your local studio fires to, ask before you buy. Nothing hurts more than realizing that cute snack bowl you made melted into the kiln shelf because you confused cone 06 with cone 6. True story.
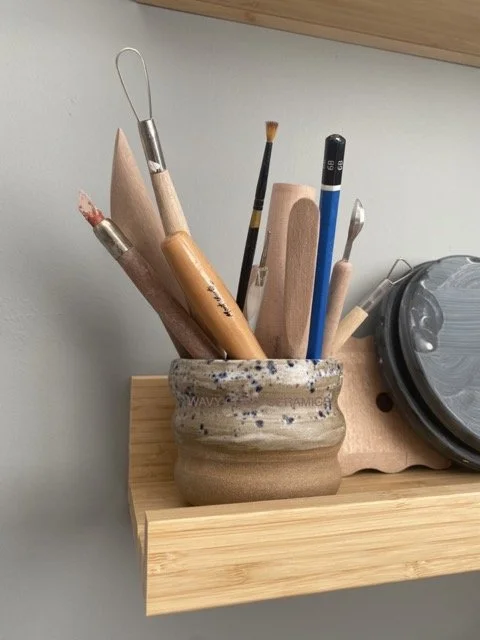
A glaze test cup repurposed as a tool holder.
Tool tips:
Canvas stretched over plywood makes a solid wedging board or work table.
An old mug keeps tools together and easy to move.
A large yogurt container makes a great water bowl.
A small bucket makes a great reclaim bin. Add two more and you’ve got yourself the three-bucket system.
The key is giving the odd things around your place a second job, just like you did the moment you decided to juggle clay and real life. Welcome to the club.
About kilns: Hold off on buying one until you’ve had more time in the process. Buying a kiln often requires spending anywhere from 500 to 2,000+ dollars depending on whether it’s new, used, manual, or digital. Skutt offers a whole range of high-quality kilns and has great customer service, which is key when you become a first-time kiln parent and have a million questions.
Don’t forget: Kilns also need to be powered and vented, which can add 300 to 800 dollars in installation costs, plus electricity per firing.
Shared studios, studio memberships, and community firings are a gift. They’re cheaper upfront, pose less risk, and are a masterclass in how different potters handle their work. I also made some of my most brilliant potter friends at a community studio and learned what a functional home studio really meant for me.
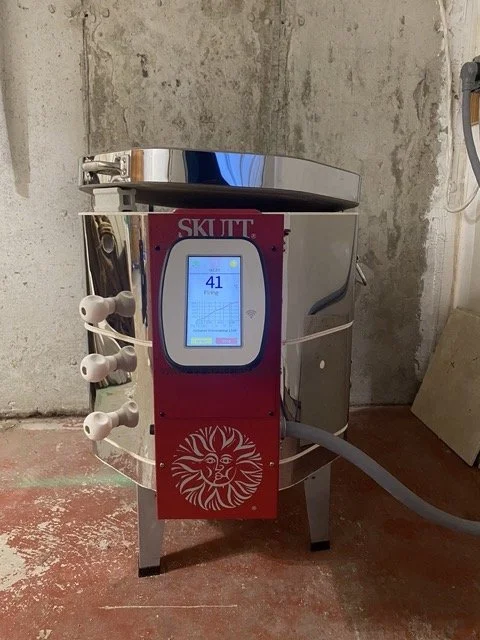
My Skutt KMT-714. Isn’t she adorable?!
When you eventually bring a kiln home, you’ll sort out ventilation, wiring, and airflow—important details that make firing safe and simple. Think of safety as another form of craftsmanship you’ll soon become fluent in.
Resource tip: the Ceramic Arts Network and local co-ops often post beginner kiln-safety guides worth bookmarking.
Knowing the real costs and safety basics keeps your early studio sustainable instead of stressful.
Space Is a Material Too
For years I blamed every frustration on not having enough space. Then I moved into a bigger space and realized clutter expands faster than square footage. More space meant more pints of glaze, naturally.
Now I treat the studio like a pot in progress by shaping it as I go. Wet work near a sink, glaze area where spills won’t ruin everything, shelves strong enough to dry safely. I rearrange often, especially when a new project asks for it.
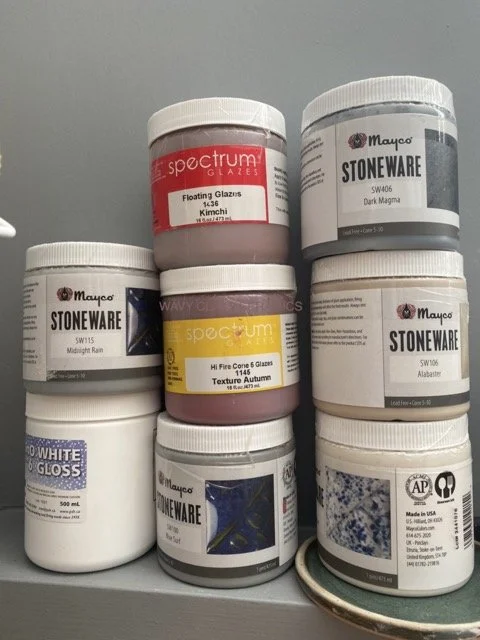
A few glaze favourites.
Small spaces reward resourcefulness and good choreography. A folding table that flips between handbuilding and glazing. A cart that carries everything but the clay (she do be heavy and we love her).
Treating your workspace as flexible material helps your studio grow with your practice instead of against it.
Tip: Brush-on glazes are a great starting point when space-saving is a priority. My go-to glazes are from Mayco and Spectrum. They’re easy to use and come in a variety of colours and container sizes, food safe, decorative..the list goes on. Start with a pint and test, test, test!
It’s As Difficult As You Want It To Be
Right now, I’m a potter in flux. I’ve been an artist for over ten years and have always navigated the balance between art and other work. At one point I made a career pivot and didn’t make a single piece of art for four years.
Now I’m finding my rhythm again, in a more sustainable way. Some weeks the studio hums with activity; others it barely stirs. I owe a lot of that to every iteration of my tiny home studio.
The home studio floats somewhere between life and work, often messily. You’ll find glaze fingerprints on your phone, bisque shards in your pockets, and the occasional cracked pot that takes your mood with it. The key is learning to keep your sense of humor when your mug sticks to the kiln shelf.
Persistence looks different for everyone, and that’s what makes it sustainable.
Building an Art Practice That Fits Your Life
Routines are everything. Once I started planning projects over weeks, days, and even hours, I could fit them into my working life more easily. Throw one night, trim the next, glaze in the early morning, and fire on weekends. Keep small, steady windows for making. Two focused hours beat a distracted afternoon.
I’ve learned to treat studio sessions as promises to myself, like quiet appointments with the part of me that still wants to learn. I get to be a maker. By dedicating time to creative exploration, I get to bring the things I imagine to life.
Journaling and other resources are great for grounding yourself in your ideas and working through them at your own pace.
When you show up with that mindset, the work feels lighter, even when you’re lugging that 20 kg box of clay up the stairs of your apartment building and the elevator is out. Good times.
Making It Pay (Slowly, Steadily)
I recommend local markets to every new potter. My first sales were at local markets. People were kind and bought my mugs, wonky handles and all.
Before that, I lavished family and friends with my latest clay experiments, and they graciously accepted. More than that, they encouraged me, shared ideas, and hyped me up to their friends.
When it comes to selling at markets, keep it simple.
Start with small batches, honest pricing, and track your costs. Bonus points for a fun table setup. I once filled a gumball machine I found at a thrift shop with ceramic charms and now it’s a staple at my markets.
Most potters I know balance clay with another source of income. That’s still a full creative life. The paycheck keeps the clay stocked and the kiln running, and that keeps the creativity steady.
Slow, steady selling teaches you what works before scaling up and helps the joy outlast the grind.
What Actually Helps
Here’s what has made a lasting difference in the five years that I’ve been potting steadily:
Always wet clean even if you’re working with dry clay. Your lungs will thank you.
Label glaze tests, even the failures.
Keep a firing log, even if you’re using a community kiln. Kiln techs love a good firing chat.
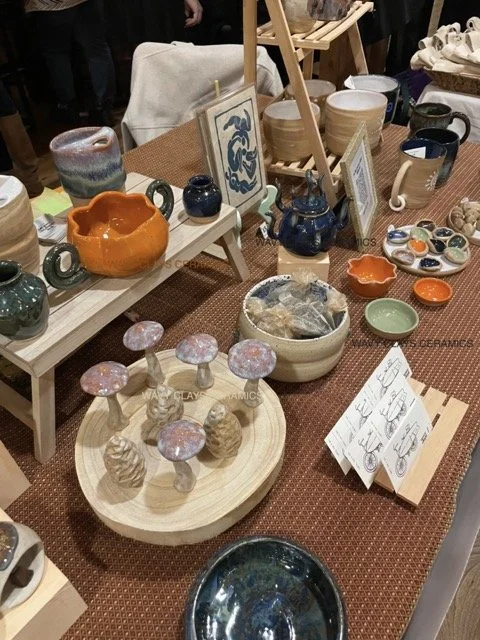
Buy sturdy shelving that can carry more than you think you’ll make. You might be inspired to make 50 clay mushrooms one day, and you’ll need the space.
Clean before you stop for the day. This is a note to self, mostly.
Build community by joining a firing co-op or trade kiln space. Community saves money, sanity, and connects you with other people covered in clay drips.
Play. Make one piece every so often just for you. Maybe that’s the weird, no-pressure experiment that’s fun to make and keeps you curious.
Small habits protect the joy that makes long-term practice possible.
In Conclusion: Much Like an Art Practice, a Studio Is Always Changing
Every studio I’ve worked in has been temporary, just like every pause in my practice. The spaces change as the work changes as the home changes. I’ve stopped chasing some final aesthetic version of set up. The shelves shift, the tools migrate, and that’s part of the rhythm.
If you’re setting up a small home pottery studio, this flexibility is one of your biggest advantages. When your space can adapt, your practice can keep moving. You spend less time rearranging your life and more time actually making pots.
A good studio isn’t defined by square footage or equipment. It’s built through small, practical choices that make it easier to show up consistently, work safely, and enjoy the process. Those habits add up, especially when ceramics lives alongside the rest of your life.
If you’re building a home ceramics studio, I’d love to hear where you’re starting from.
What’s one studio change that helped you make more easily or more often? Drop a comment below!
More Like This
If this feels like the perspective you needed, explore more Wavy Clays Ceramics blog posts on studio life, balancing the 9 to 5, and building a creative practice that grows with you.