Why Every Potter Should Start Firing at a Community Kiln
I didn’t own a kiln for years. I fired at a community studio and drove my chunky pots home in the trunk of my car, moving slowly over rough roads and over-analyzing every bump despite my pots being swaddled like newborns.
At the time, I thought firing was the final step. What I learned instead was that it is one of the most instructive parts of the pottery making process. Community kilns make that obvious from the start. They ask you to plan ahead, work cleanly, and accept outcomes without rushing to fix or blame.
Those skills shape your work long before you ever consider owning a kiln. Here’s how you can level up your approach to firing at a community studio before you even get there.
What Firing at a Community Kiln Is Really Like
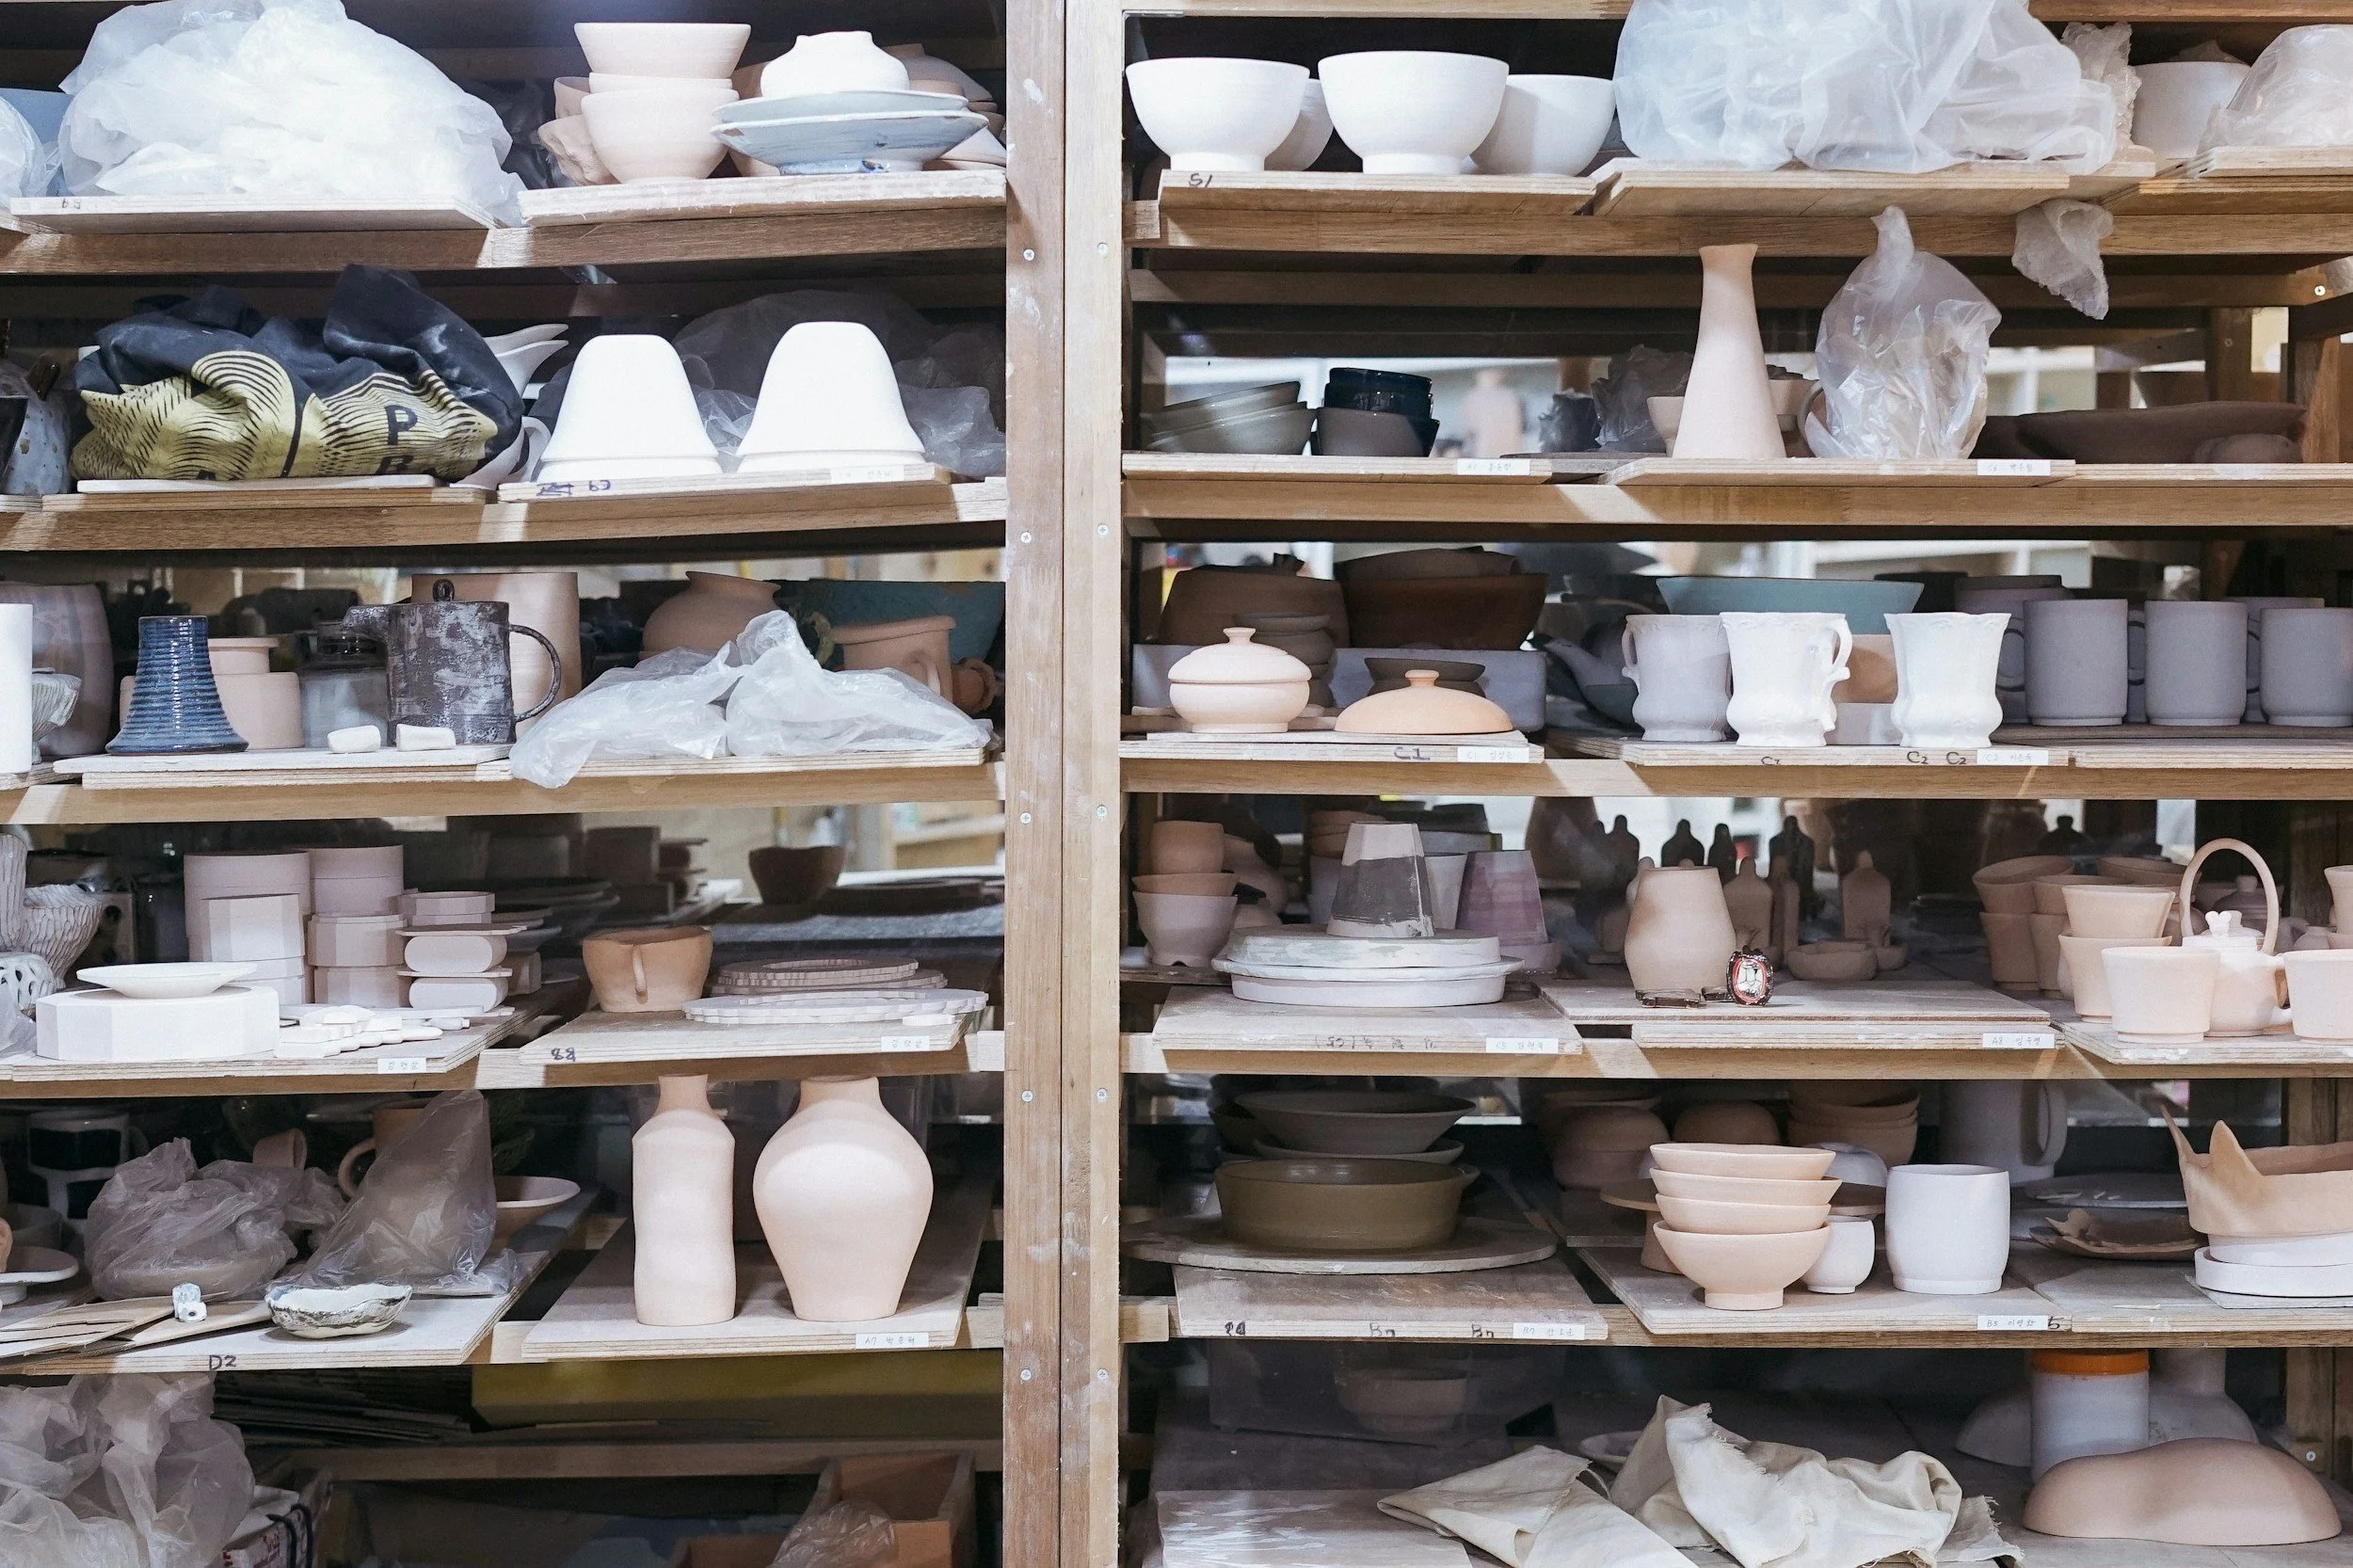
Before I had my own kiln, my schedule followed the studio calendar. Pick up bisque. Drop off glaze work. Label everything clearly. Check the cone number twice. Provide cookies (the safety ones, not the delicious ones, though I’m told that both are appreciated).
Turnaround times varied. Sometimes work came back quickly. Other times it took weeks. Planning markets or releases meant working further ahead and making more pieces than I thought I needed.
That slower pace and strategic planning changed how I worked.
It’s always important to be intentional, especially when working with a shared kiln. You start refining forms instead of rushing them. You glaze with intention. You finish pieces carefully because each firing cycle represents real time and shared effort. Maybe you even start planning in batches and months. You eventually figure out a system and find your flow.
Community kilns reward preparation and patience. Those habits carry into every stage of making. Everything you do from choosing your clay to deciding where your pots will dry impacts the firing stage.
How to Work Well in a Shared Kiln
Community firings function smoothly when everyone understands their responsibility. The goal is straightforward. Keep the kiln safe. Protect the shelves. Take ownership of your work. Respect other artists’ work. And when you don’t know something, ask.
Before I continue, an essential PSA: Cone 6 and cone 06 are very different temperatures. Make sure you are sure about which one your clay needs to be fired to.
Here’s how you can approach your first community firing with confidence.
Before Your First Firing
Contact the studio to learn about firing schedules, cone ranges, material requirements, and pricing.
Share your experience level honestly so kiln staff can support safe firings.
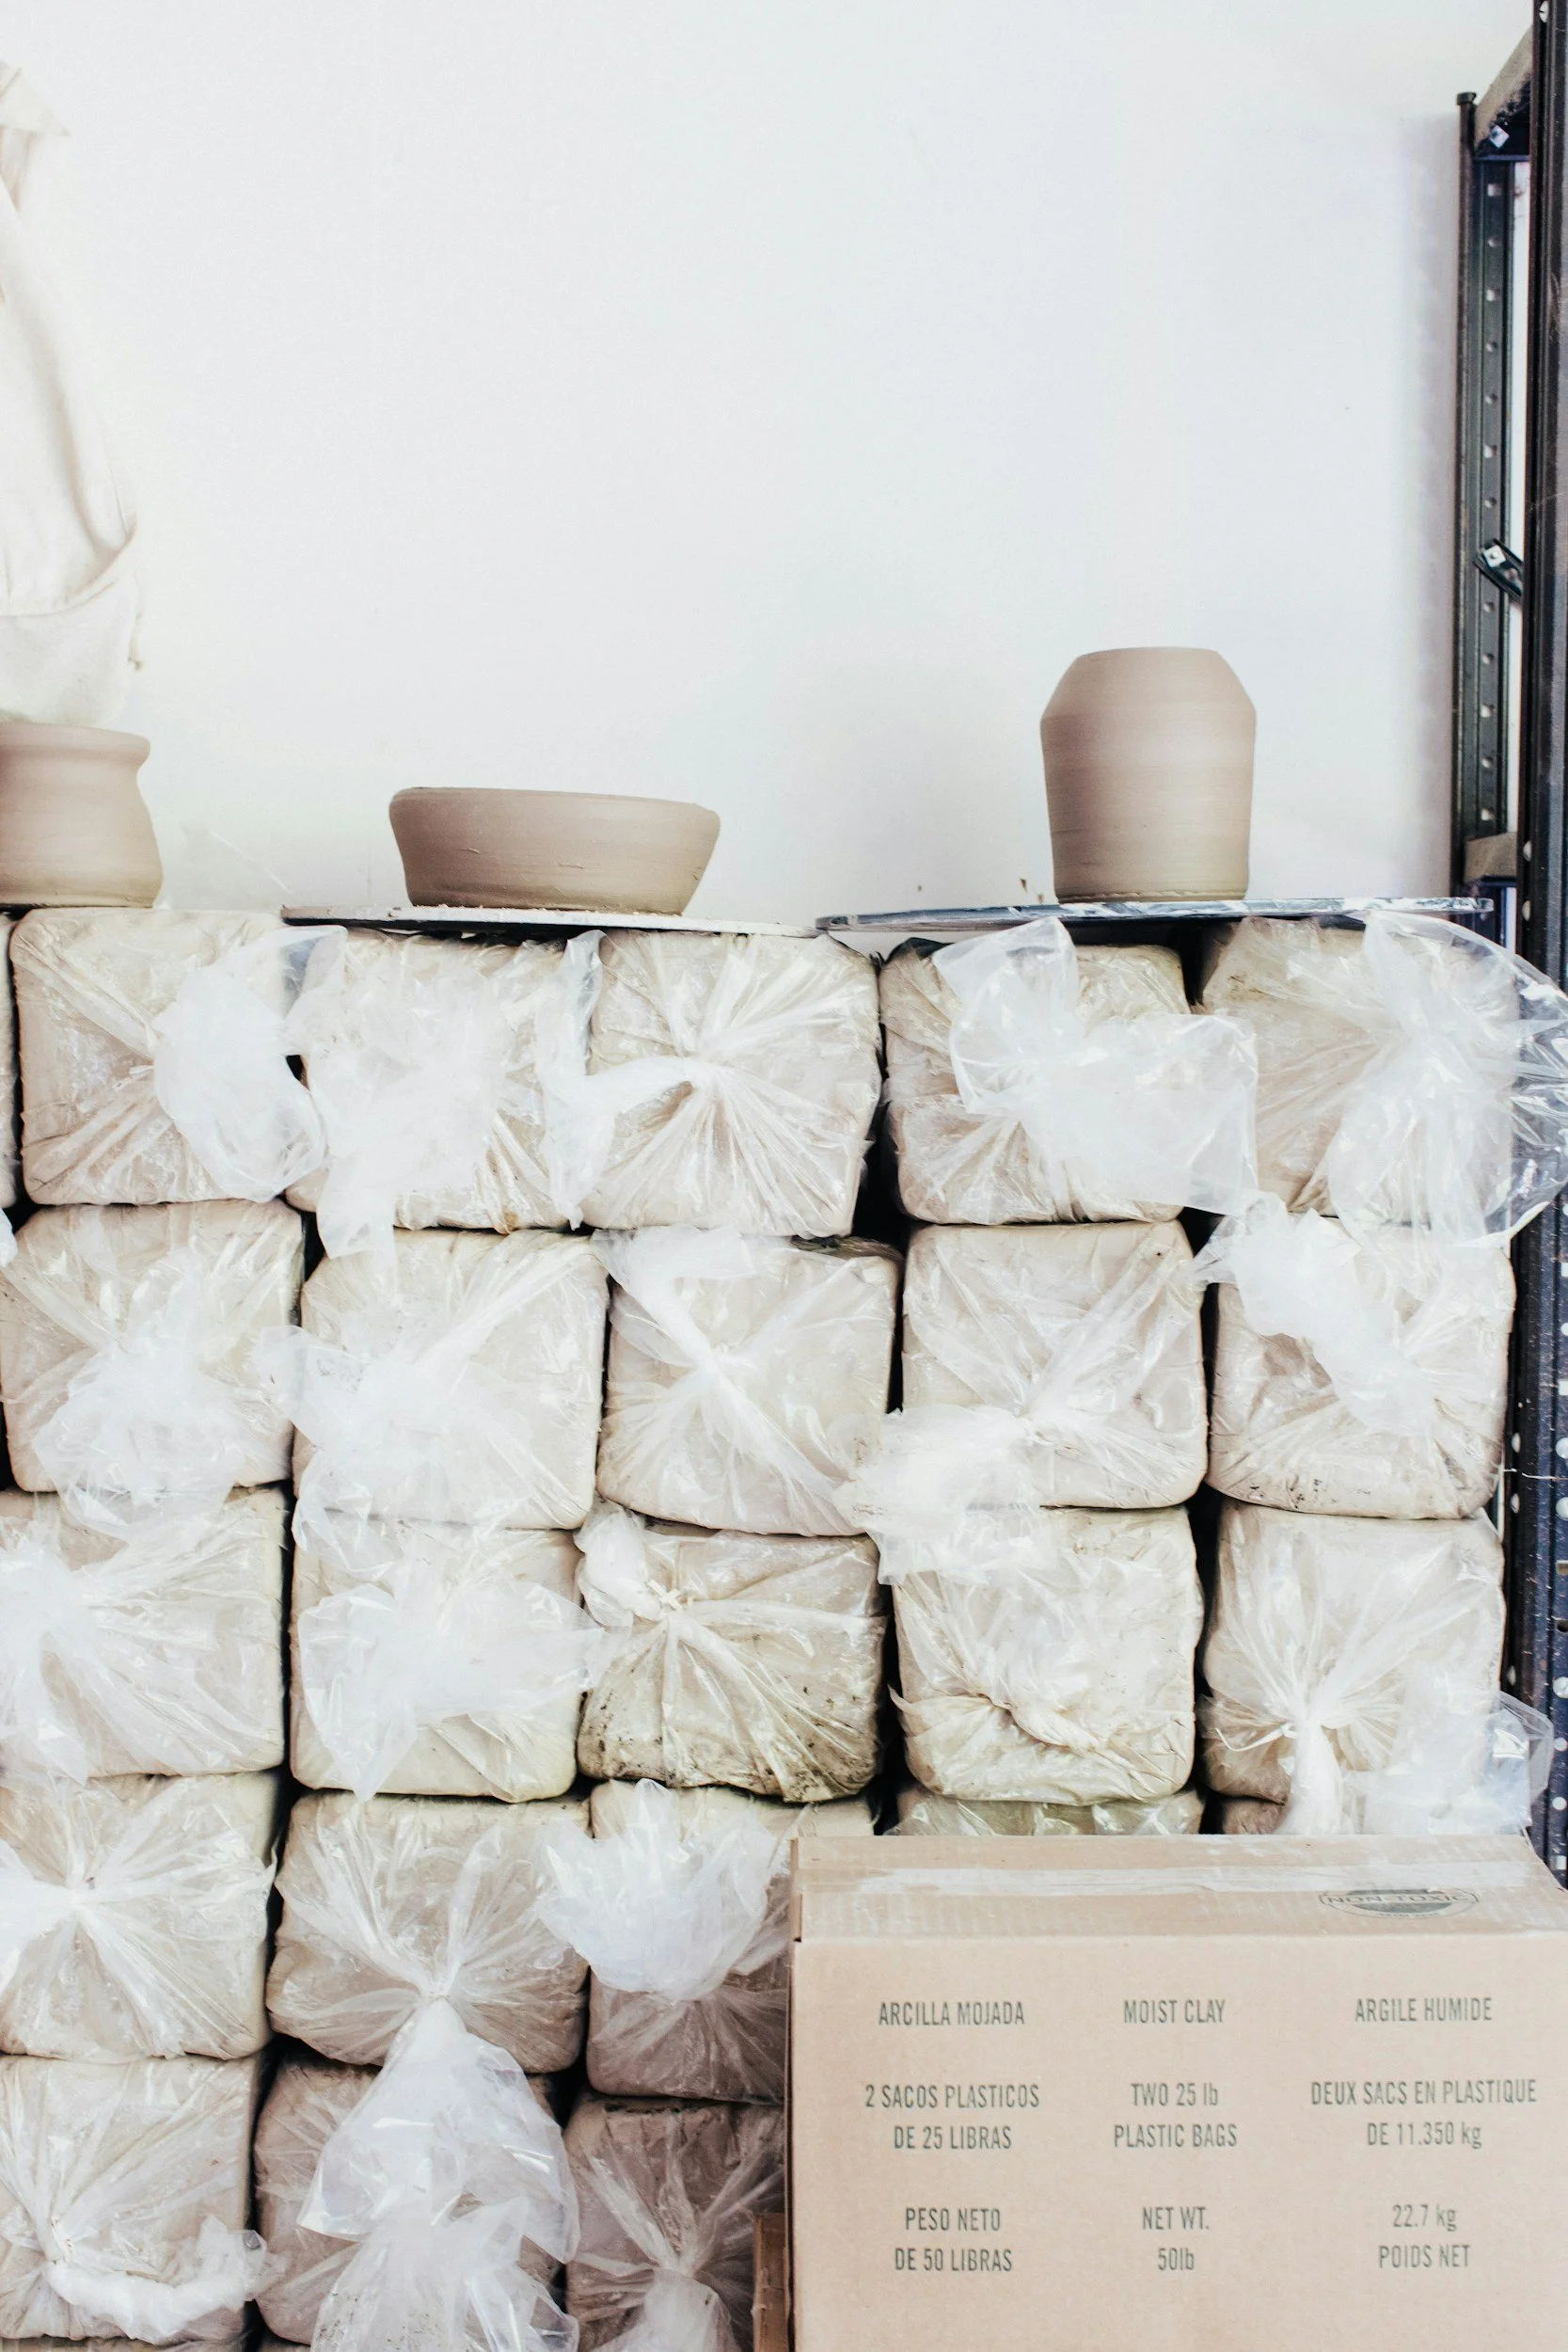
Bring work for bisque firing only when it is fully bone dry.
Label each piece clearly with your name, cone, and clay body.
If you’re a total beginner, it might feel tempting to play up your experience level to seem more appealing to the staff and community, but I wouldn’t recommend it.
Community studios are spaces where learning and growth are literally the whole point. Show up, be yourself, and stay open-minded. Before you know it you’ll be sharing your knowledge and experience with the latest total beginner to join the studio.
When Glazing
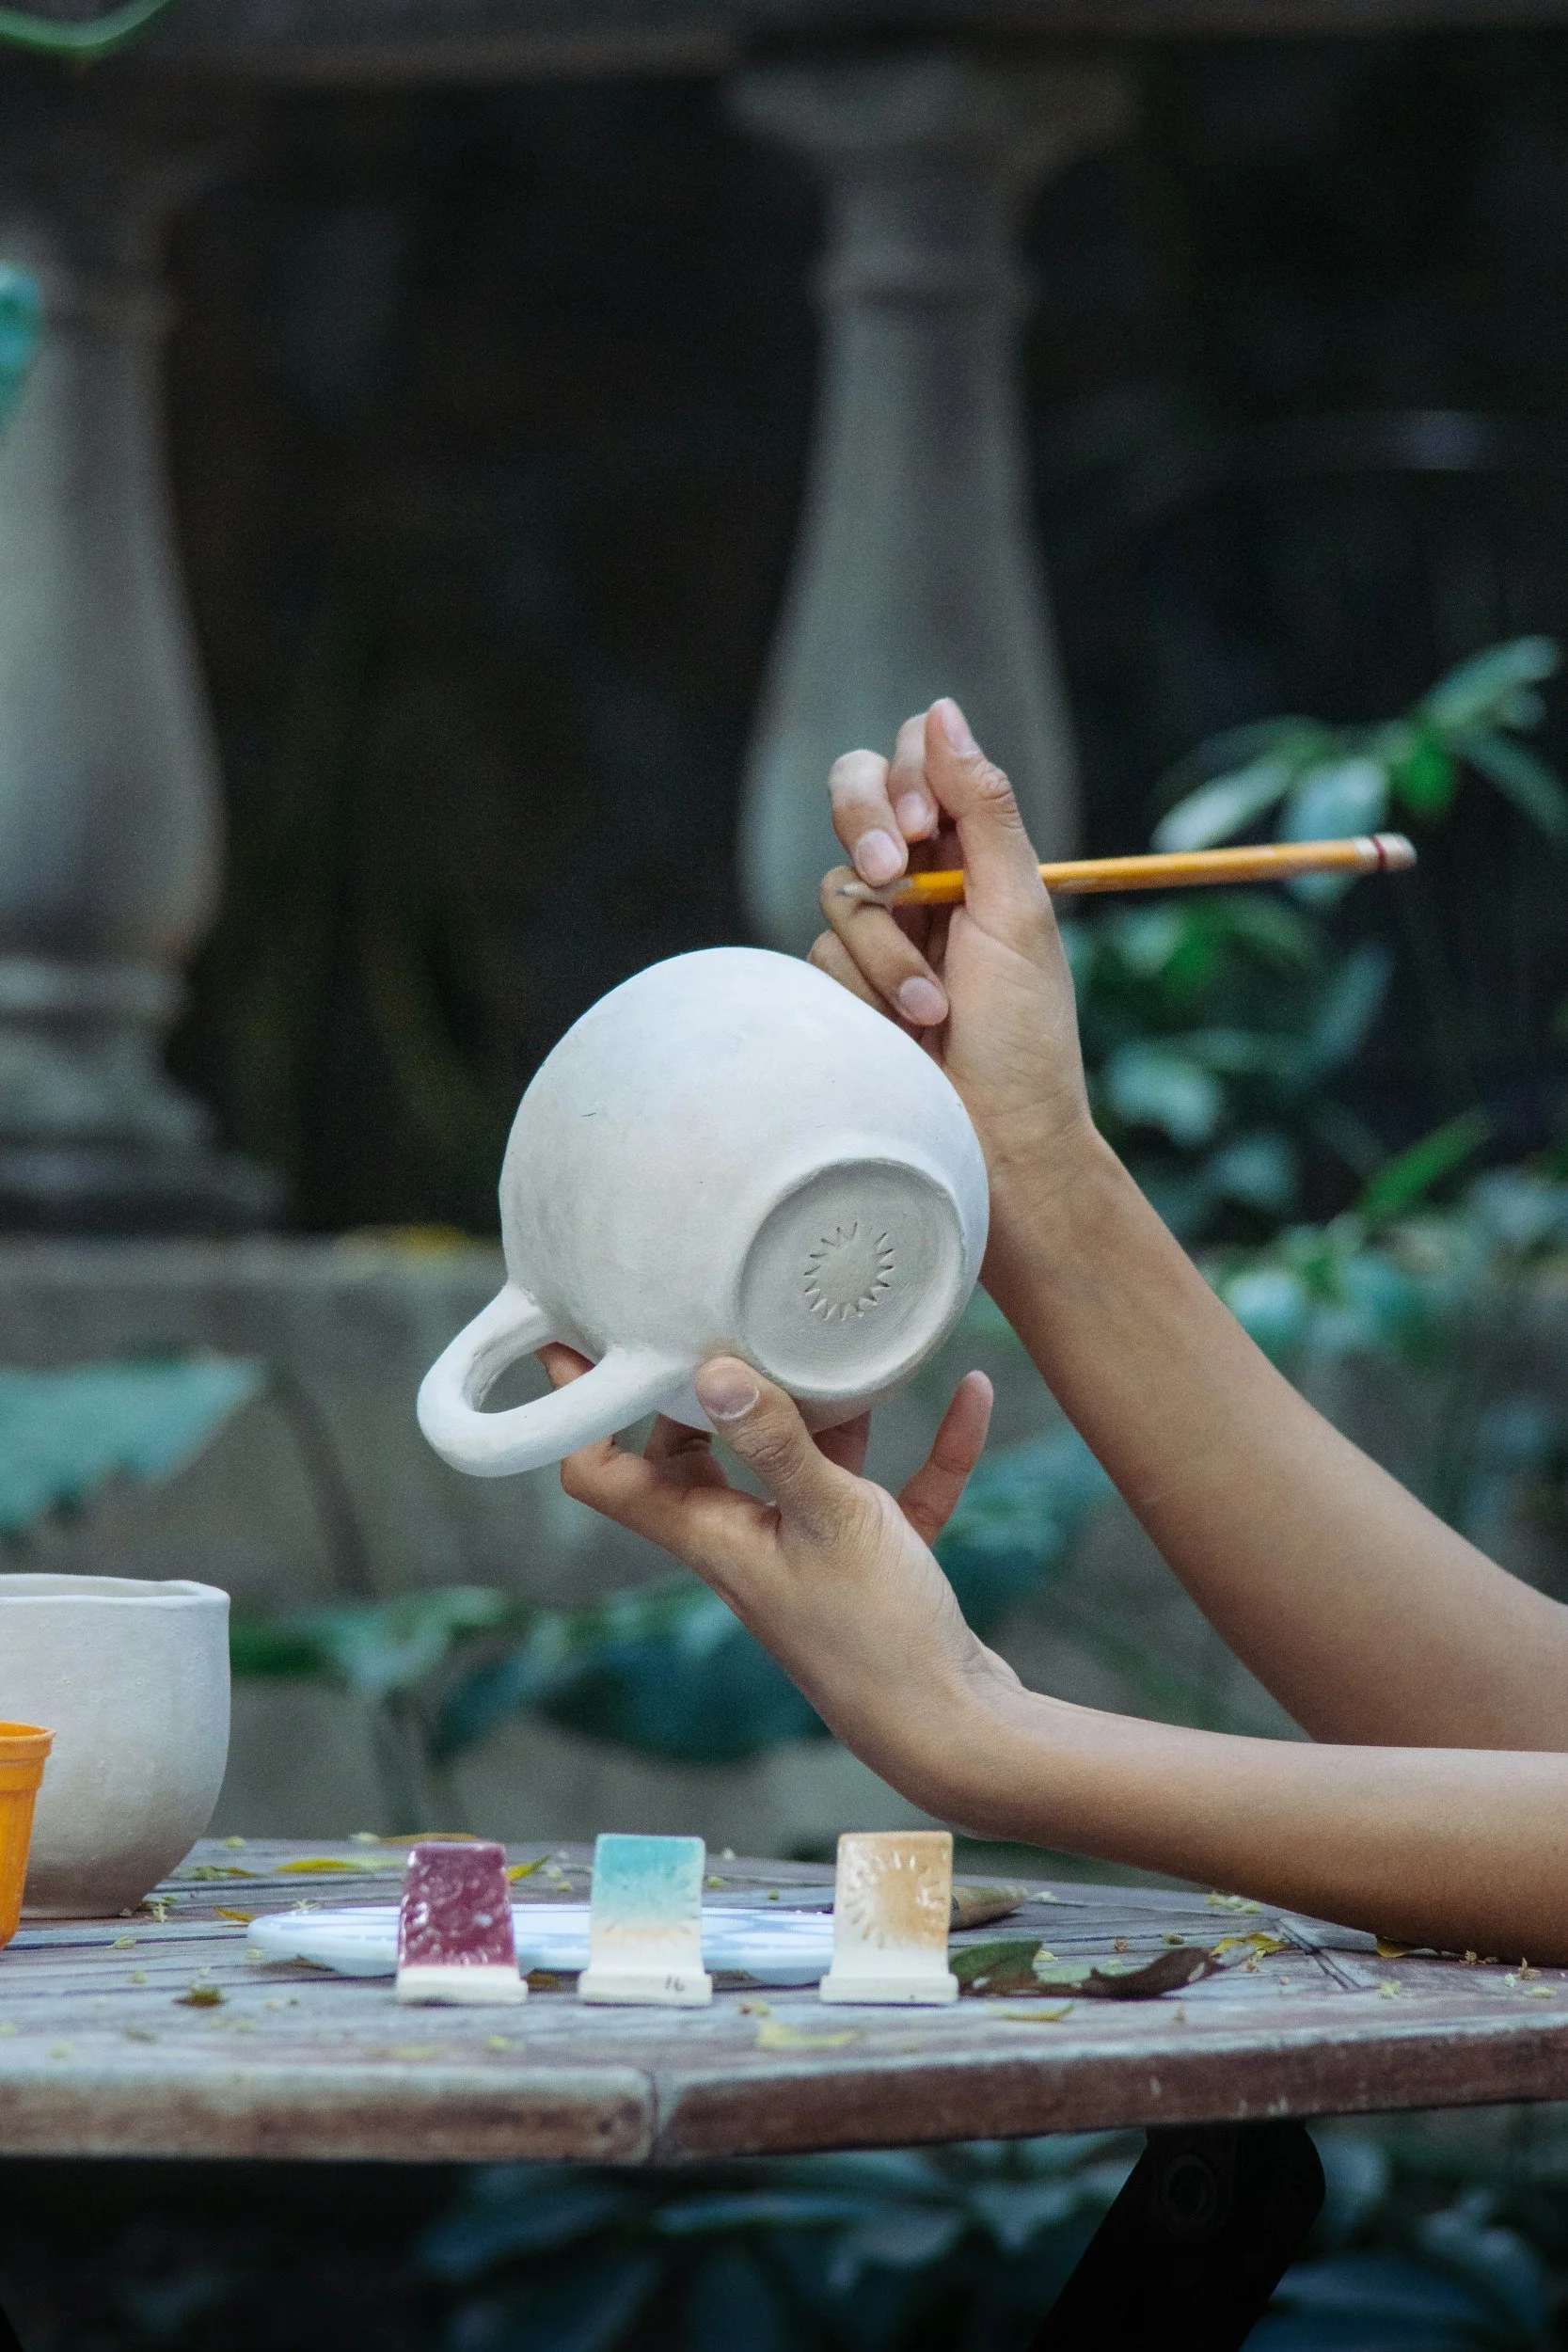
Follow studio glaze guidelines carefully.
Clean glaze thoroughly from the bottoms of your pieces.
Assume glazes may move and use cookies.
Test unfamiliar combinations or ask questions before committing.
Loading the Kiln
Most often you’ll have a kiln technician that loads up the kiln for everyone. They take into account things like programming, placement, and ventilation before starting the kiln. In some cases, you might be able to load the shelves yourself or help the tech load up.
You can prep for this too! Here’s how:
Review shelf rules each time you load.
Space work to allow proper airflow if you’re loading shelves.
Write your name clearly on firing sheets.
Communicate with the kiln tech. Their attention protects everyone’s work.
Shared systems work best when everyone knows their role and takes responsibility for their work.
What Shared Firings Taught Me
Seeing many different pots go through the same firing gives you perspective quickly. You begin to recognize how clay bodies respond, how glaze thickness behaves, and how form influences results.
A few lessons tend to repeat.
Preparation now means better results later. Careful wedging, compressed rims, and smooth bottoms affect outcomes more than most people expect.
Curiosity compounds. Keeping notes, asking other potters about their results, and comparing pieces builds understanding over time.
Heat gives direct feedback. A glaze runs. A piece cracks. A surface surprises you. Each result contains information if you pause long enough to really study them.
Shared firings encourage observation. That alone can deepen your practice. But it’s okay to shed a lil’ tear if that mug you were super excited about doesn’t turn out as planned. There will be many not-what-I-expected moments and you’ll learn to accept these failures, or better yet, embrace them. Laughing and crying are basically the same thing, right?
Knowing When You Are Ready for Your Own Kiln
After several firings, patterns became clear. I felt like I really started to get it, even if I wasn’t the one loading or setting the kiln.
Some glazes were consistent on certain clay bodies. Others stayed unpredictable as I experimented with new pairings. Larger forms felt constrained by space and shared schedules. I wanted more flexibility to test ideas and more control over timing.
That was when owning a kiln made sense for me.
I spent months comparing options, reading about other potters’ experiences (good and not so good) and eventually bought a small electric kiln from a local pottery supply store. It was not cheap, but I had already made peace with that. I chose to look at it as an investment. Did I mention that pottery is mostly about mindset?
Setting it up required planning, from electrical work to ventilation and clearance. More costs here, FYI.
Finally, it came time to test fire. This first firing felt serious. It was a huge step in my pottery journey! I was super pleased when the test cone slumped over at just the right angle. Chef’s kiss.
The day finally came to fire my first actual batch of pottery in my studio space. I’ll cut to the chase, it was a mixed bag. I had some pieces turn out exactly as I’d hoped, others surprised me. This part was nothing new from firing at a community kiln. I started to feel like I could make sense of it all.
What really surprised me was how familiar the process felt after my first few firings. Community firing had already taught me how to read cones, prepare my work, and understand cooling cycles. The responsibility increased, but the foundation was there. Community kiln techs deserve a constant standing ovation.
Is a Community Kiln Right for You Right Now? Or Are You Ready to Buy a Kiln?
A community kiln can support your work well when the conditions match where you are in your practice.
It may be a good fit if:
You are still learning how clay bodies and glazes behave at different temperatures
You want to improve consistency and observation skills
You are building a regular making rhythm without needing immediate turnaround
You value shared knowledge and learning from other potters’ results
You are not ready to manage electrical, ventilation, and safety requirements at home
You are still figuring out the costs associated with your preferred kiln setup
You may be ready to consider your own kiln if:
You need tighter control over firing schedules
You are working at larger scales or testing surfaces that require frequent adjustment
You feel confident reading cones, spacing work, and diagnosing firing issues
You want more freedom to experiment independently
You’re ready to spend a nice chunk of cash for that kiln setup
Neither option is better. They simply serve different stages of growth. Many potters move between them over time. The important thing is choosing the setup that supports your learning instead of rushing toward the one that sounds more advanced.
Closing Thoughts
Community kilns teach you how to work within real conditions, with real people outside of yourself. Being part of a community studio gave me some of the best experience I could have ever asked for early on in my pottery-making. I’d recommend it to everyone, whether you’re taking your very first class or are already comfortable with clay.
If you are firing in a shared space, you are learning skills that extend far beyond shaping the clay. If you eventually move to your own kiln, those habits will guide how you load, fire, and troubleshoot.
A ceramics practice develops through repetition, attention, and shared experience. Community kilns make all three unavoidable, which is exactly why they work.
For your next firing, write down one thing you want to learn from it. Keep it simple and specific. If you’re sharing your process, tag Wavy Clays on Instagram. I’d love to see what you’re working on!